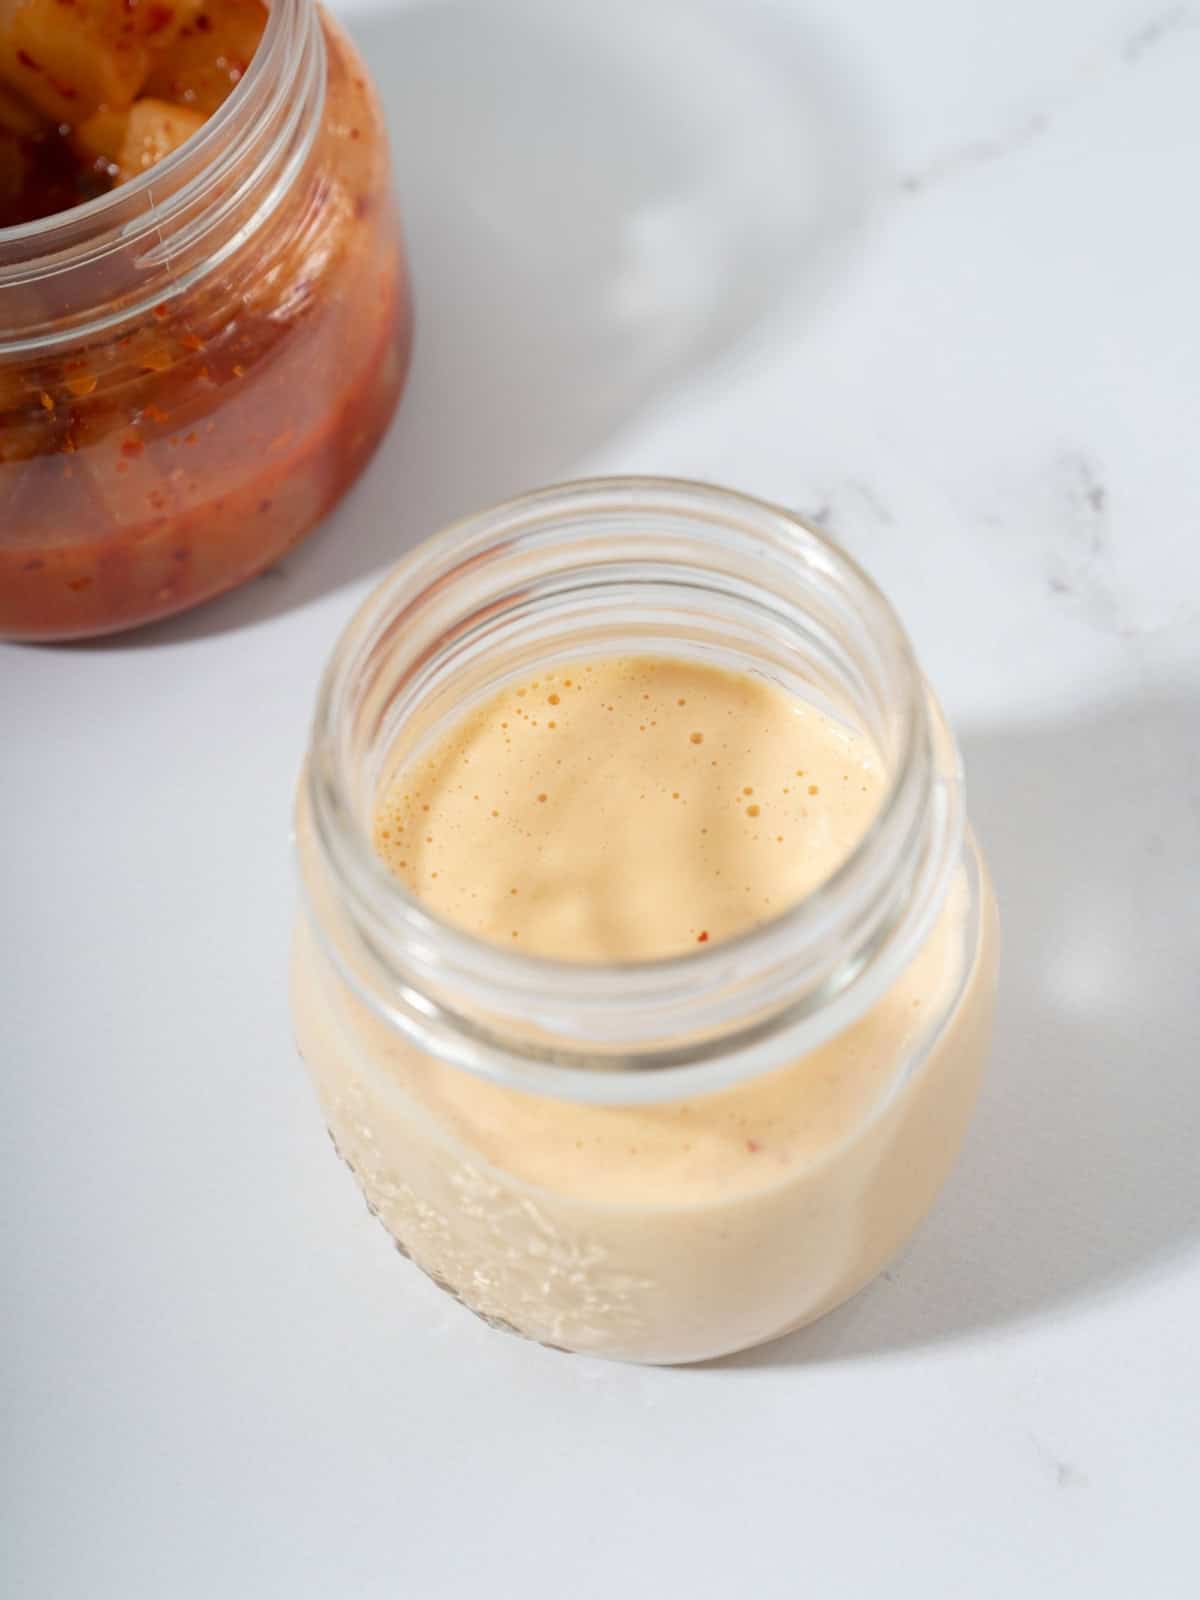
Homemade Kimchi Mayo is a vibrant and tangy twist on the classic condiment, elevating any dish to new heights. This kimchi aioli combines the rich, savory flavors of spicy fermented cabbage or radish with the creamy texture of mayonnaise, creating a mouth-watering addition to burgers, sandwiches, fries, and more.
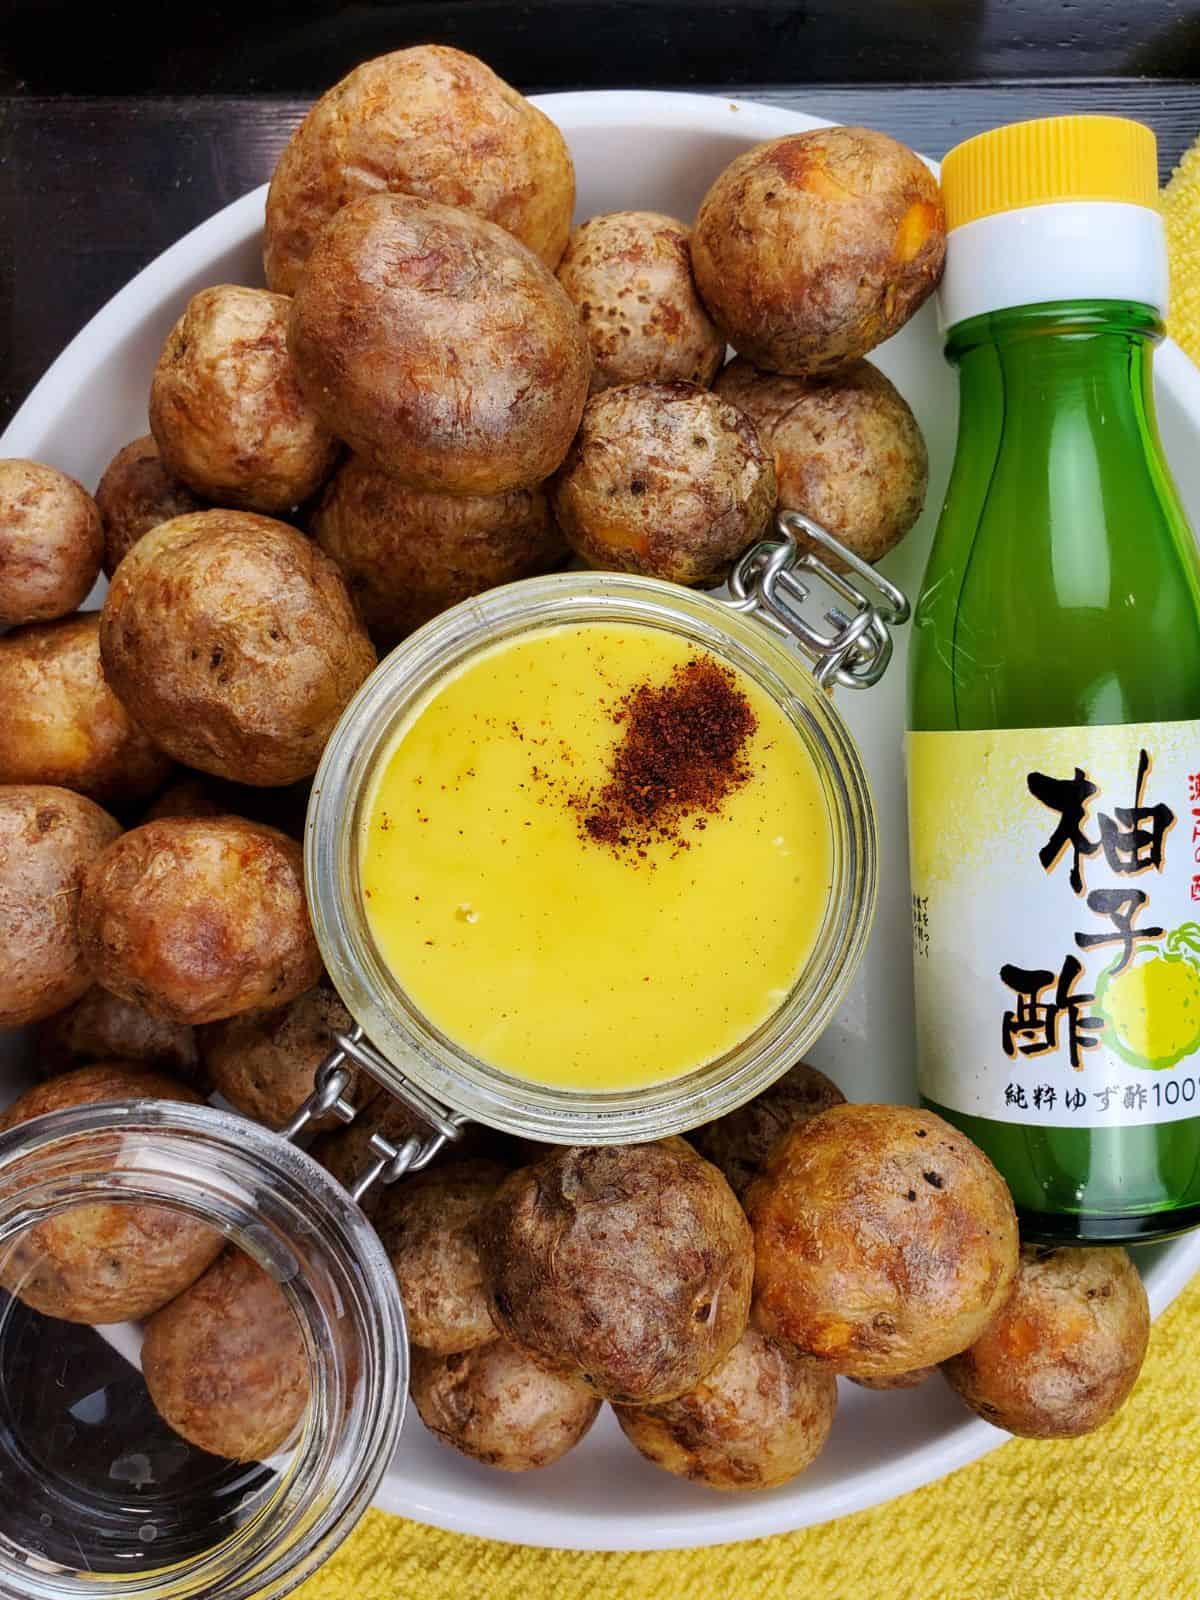
If you enjoy creamy, spicy flavors, check out my gochujang mayo and my homemade yuzu aioli!
Jump to:
✔️ Why This Recipe is Great
Very Versatile: This aioli is fantastic on burgers, sandwiches, or as a dip for fries or veggies.
Easy to Make: With just a handful of ingredients and a blender or food processor, you can whip up this gimchi aioli in no time. It requires minimal prep and clean-up, making it perfect for busy weeknights or last-minute gatherings.
Customizable: While this recipe is already delicious as-is, feel free to add in your favorite herbs or spices to customize the flavor to your liking. You can also adjust the amount of kimchi, garlic, and lime juice for a stronger or milder taste.
Healthy Alternative: Unlike store-bought aioli that tends to contain unhealthy oils and preservatives, this homemade version allows you to control the ingredients and make it healthier by making your own mayonnaise base using olive oil or avocado oil instead.
🍋🟩 Ingredients
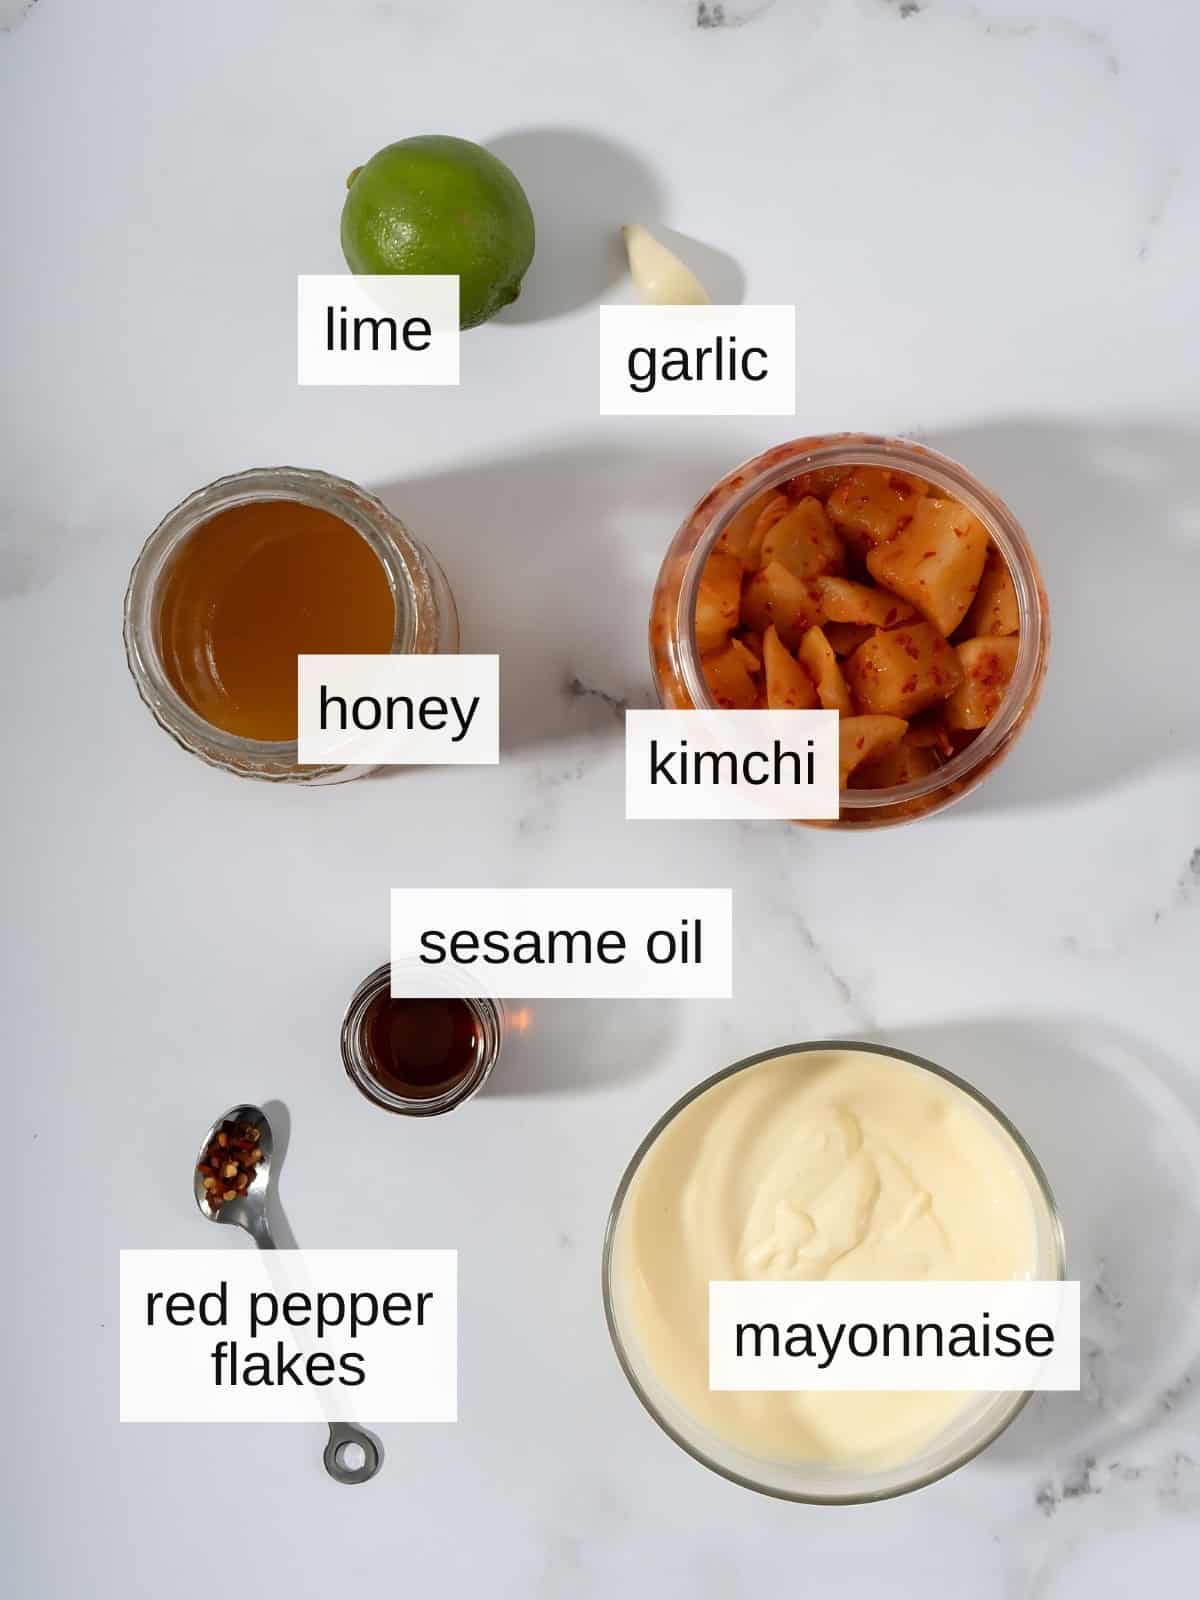
Mayonnaise: this is a key ingredient in this recipe and adds a creamy texture to your kimchi mayonnaise. Make sure to use high-quality mayo, like Kewpie, for best results.
Kimchi: a staple in Korean cuisine, kimchi adds a tangy and spicy kick to this dish - I've made it with both cabbage kimchi and Korean radish kimchi.
Garlic: this provides a savory and aromatic element to the recipe, though you can leave it out if desired.
Fresh Lime Juice: optional, but adds a bright and citrusy flavor to balance out the spiciness of the kimchi. Make sure to roll the lime before slicing to release the juices.
Honey: provides a touch of sweetness to the dish and helps balance out the flavors, though you could substitute it with brown rice syrup or agave syrup.
Sesame Oil: adds a nutty and toasty flavor to the dish. Sesame oil also acts as an emulsifier to help combine all the ingredients.
Red Pepper Flakes: while this may be optional, it adds an extra kick of spice to the dish; adjust the amount according to your taste preferences, or substitute gochugaru in equal amounts.
See recipe card for exact ingredients and quantities.
📝 How to Prep Fresh Garlic Cloves
Preparing the garlic is an important step in this recipe as it helps bring out its full flavor. Here's how to properly prep and mince fresh garlic cloves:
- Peel the garlic cloves by gently pressing on them with the flat side of a knife and removing the skin.
- Lay the cloves flat on a cutting board and place your non-dominant hand flat over them.
- With your dominant hand, lay the blade of a chef's knife flat against the cutting board, then use your other hand to press down onto the blade until you hear a slight crunch or pop.
- Slice each clove in half and remove th egreen stem inside, if prsent (the stems make the garlic taste morr bitter).
- Cut the now crushed garlic into small pieces using a rocking motion with the knife, or if the cloves are small, add them directly to the food processor.
🥣 How to Make Kimchi Aioli (Step-by-Step)
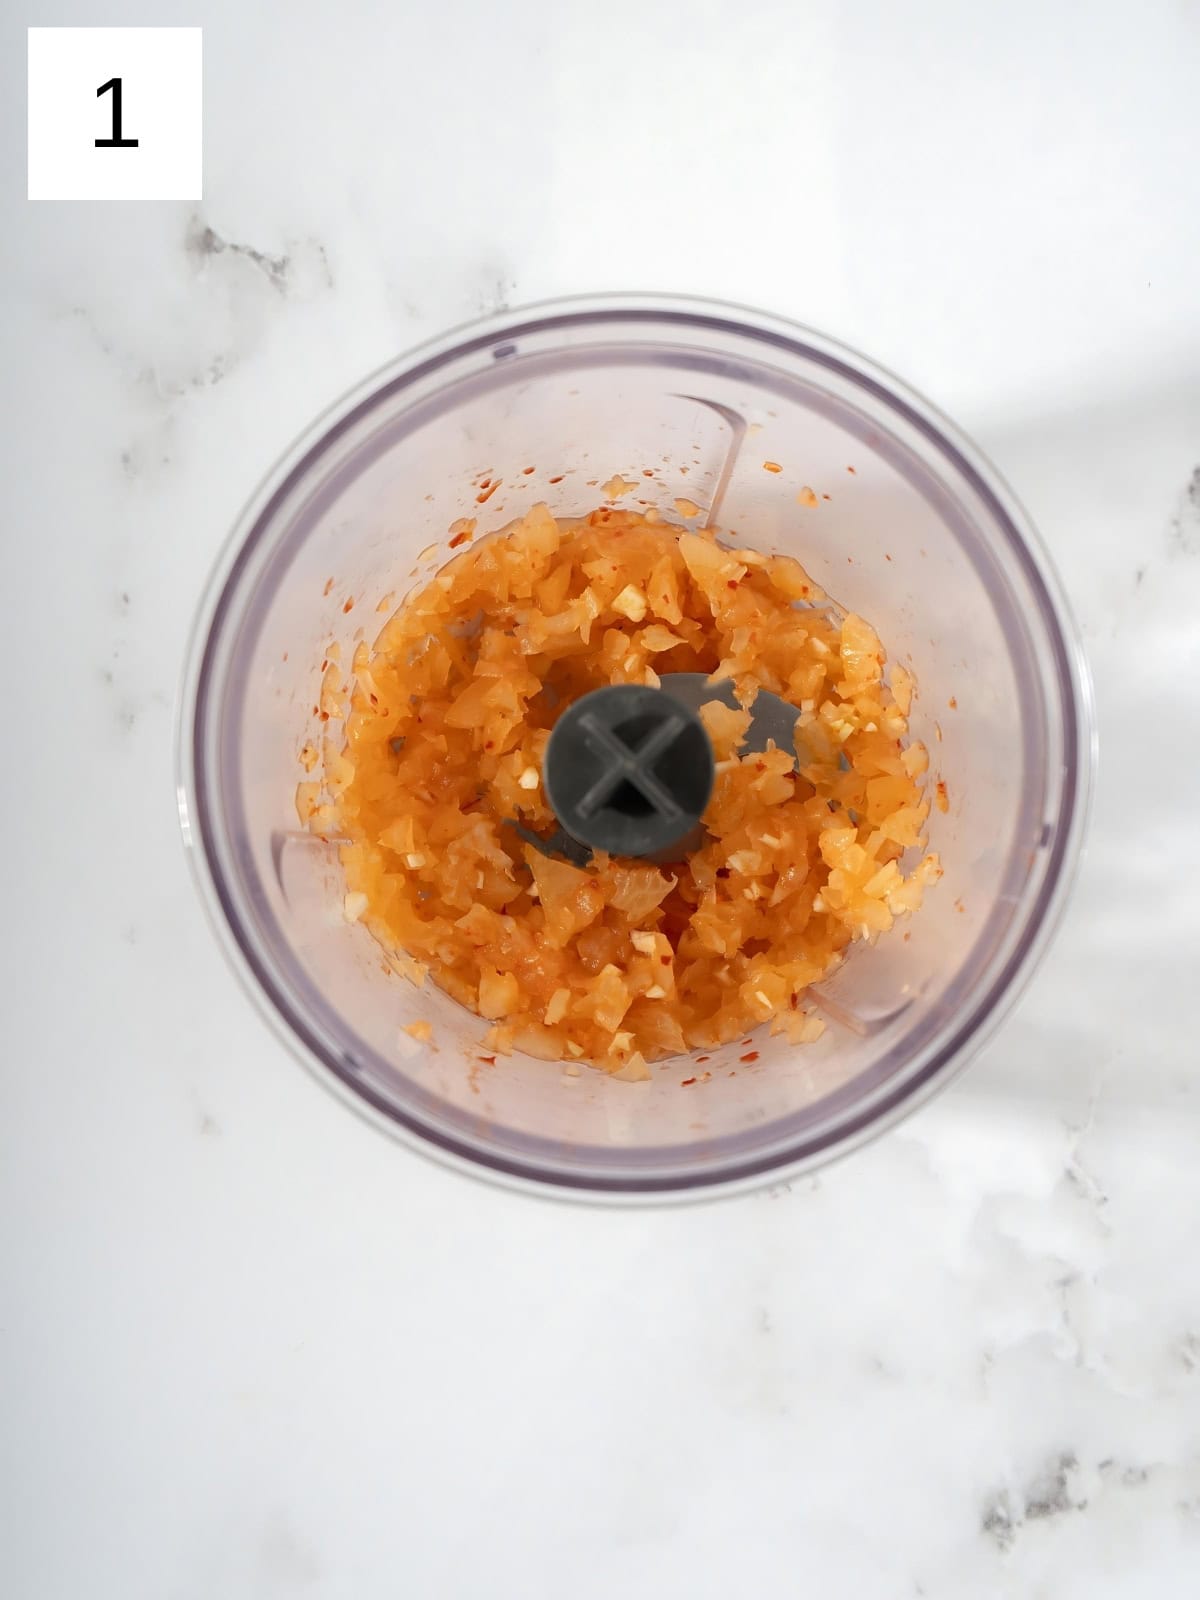
Step 1) Place the roughly-chopped kimchi and garlic cloves into the bowl of your food processor. Pulse it all several times until the kimchi is very finely chopped and the garlic is completely minced, for around 1 minute (image 1).
For an extra smooth aioli, before adding in the rest of the ingredients, you can scrape this mixture through a fine-mesh sieve to remove any remaining kimchi bits, and then return it to the bowl of the processor.
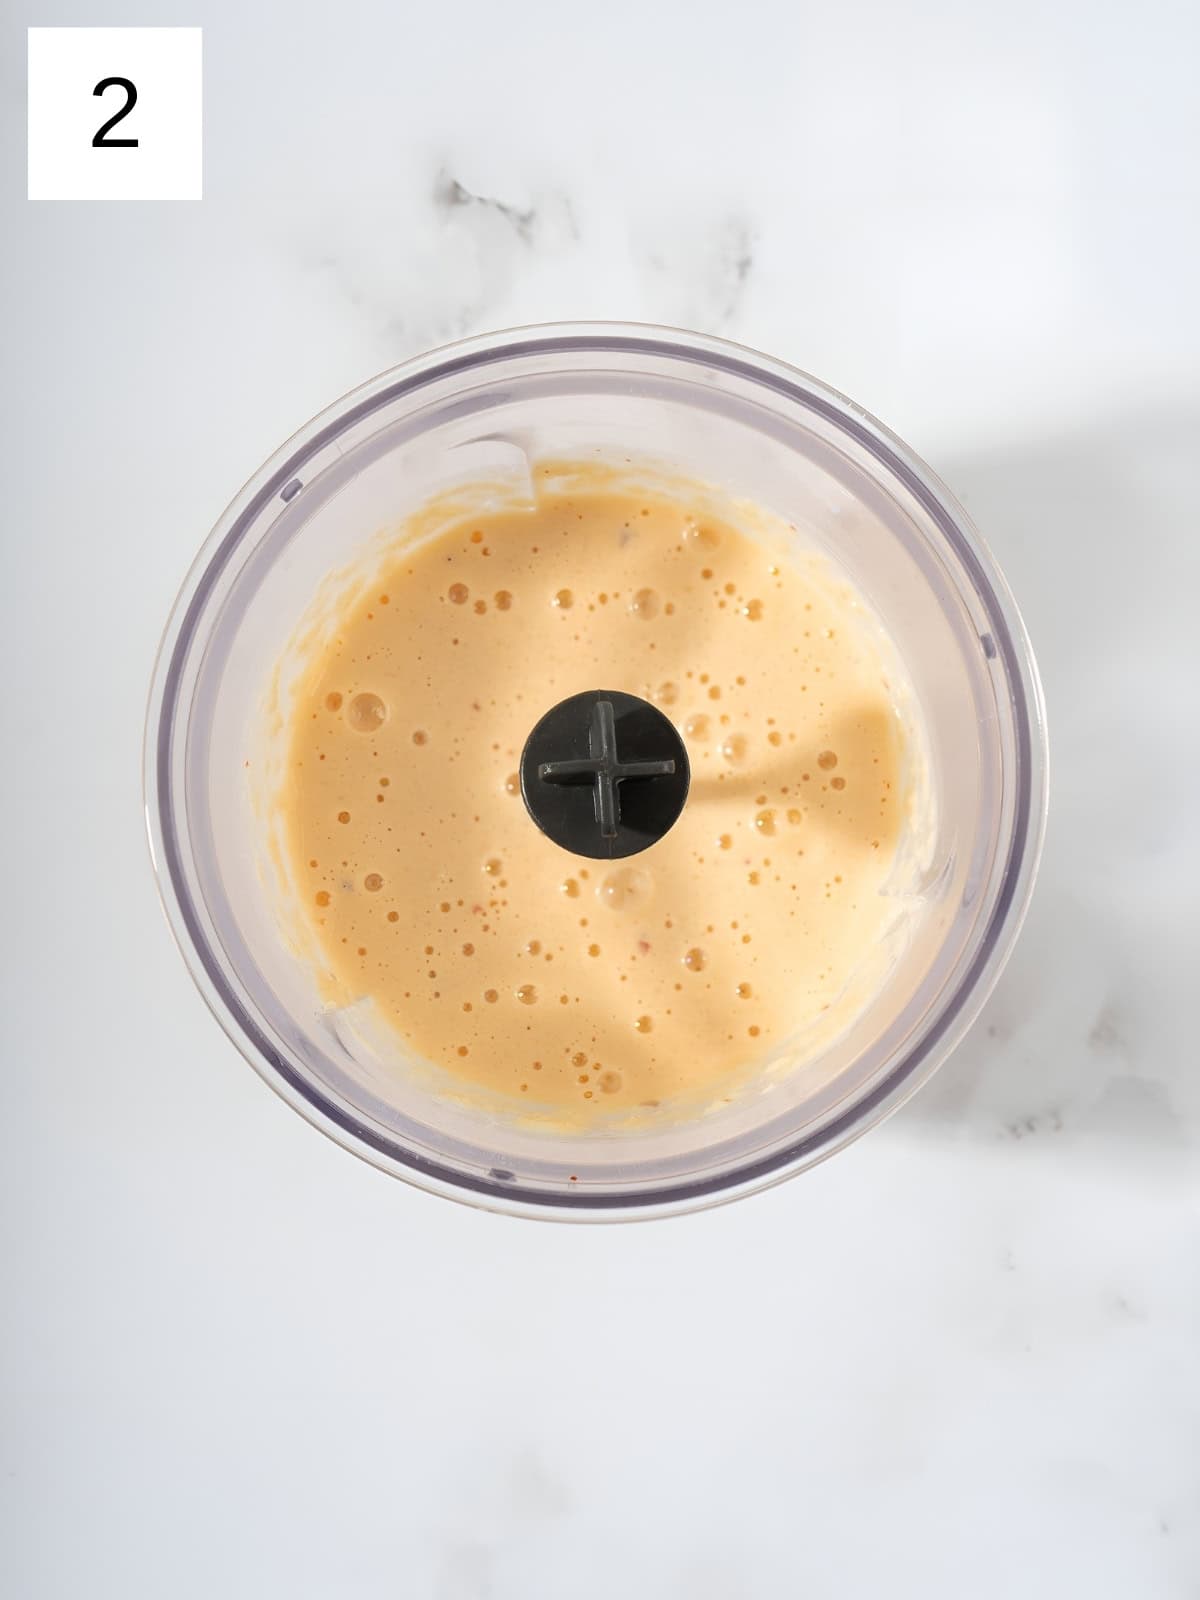
Step 2) Add in the mayonnaise, lime juice, sesame oil, honey, red pepper if using, and salt to the food processor (image 2).
Pro Tip
Make sure your food processor is clean and dry before using it to prevent any water from diluting the aioli.
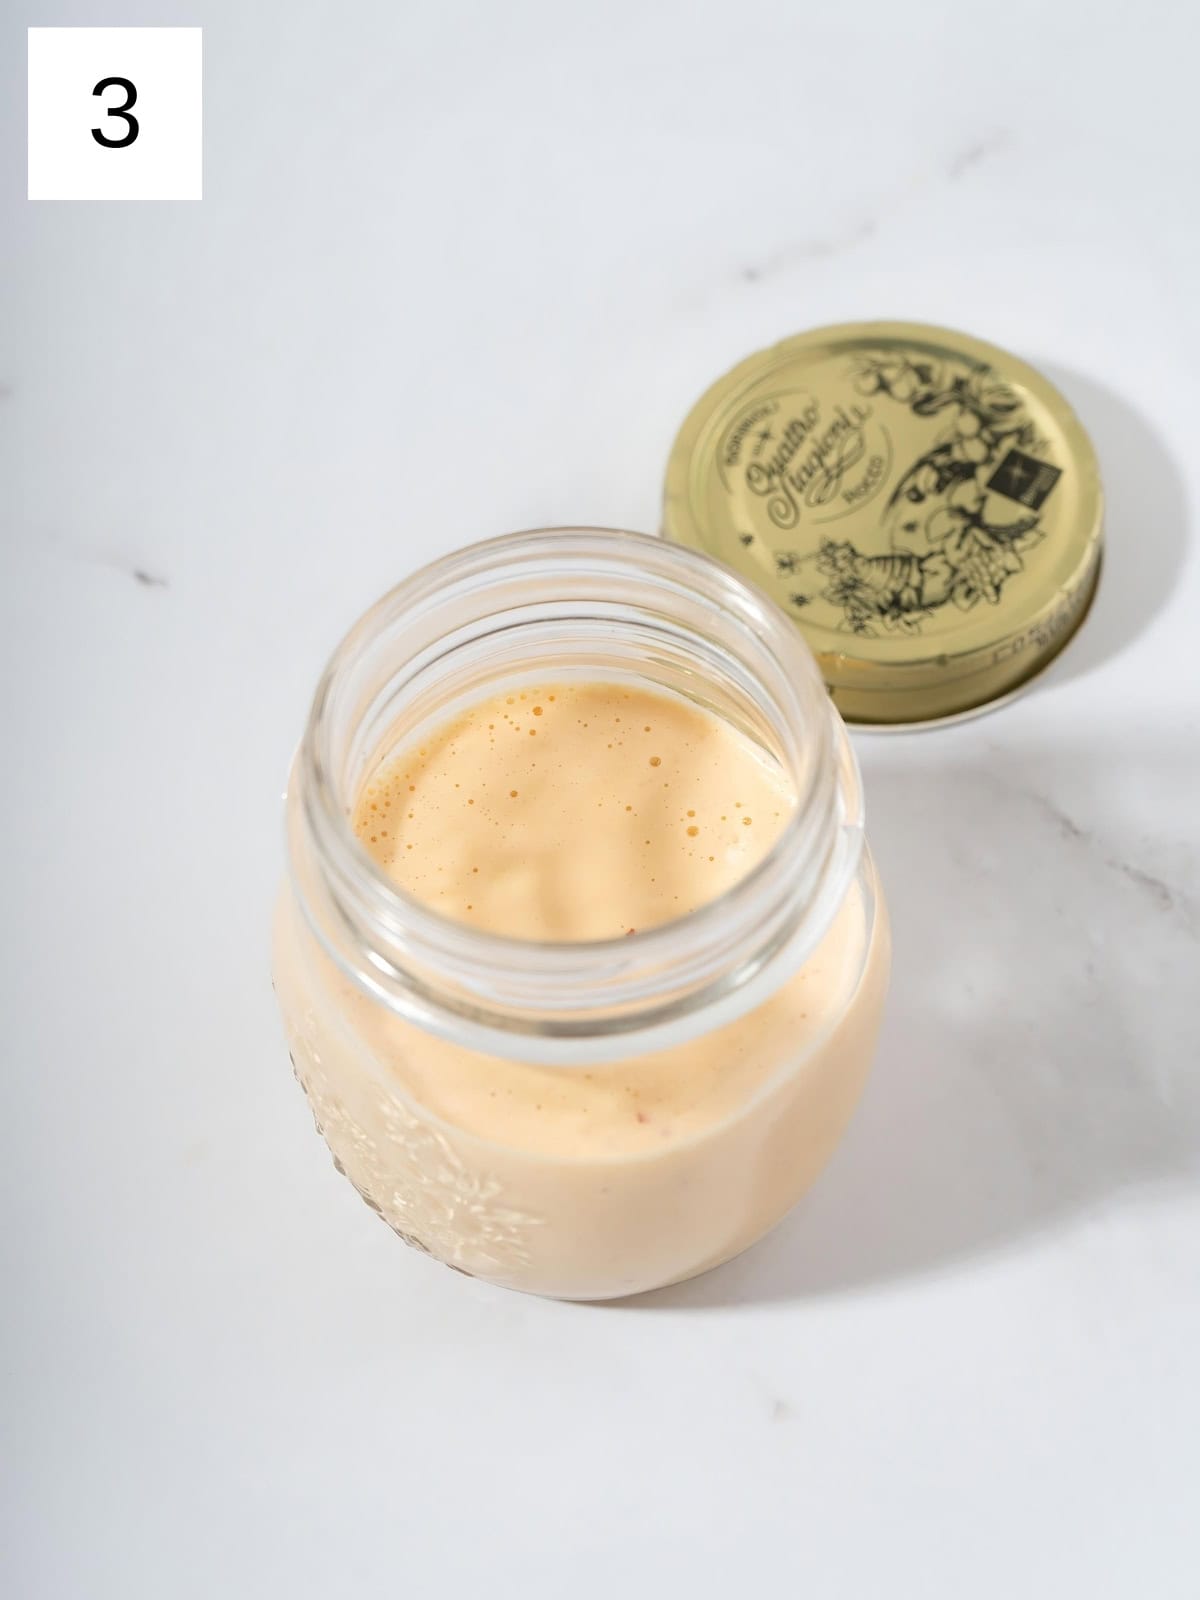
Step 3) Blend the mixture until everything is well combined and the texture is smooth. This should take about 30 seconds to 1 minute. Scrape down the sides of the bowl as needed to ensure all the ingredients are incorporated (image 3).
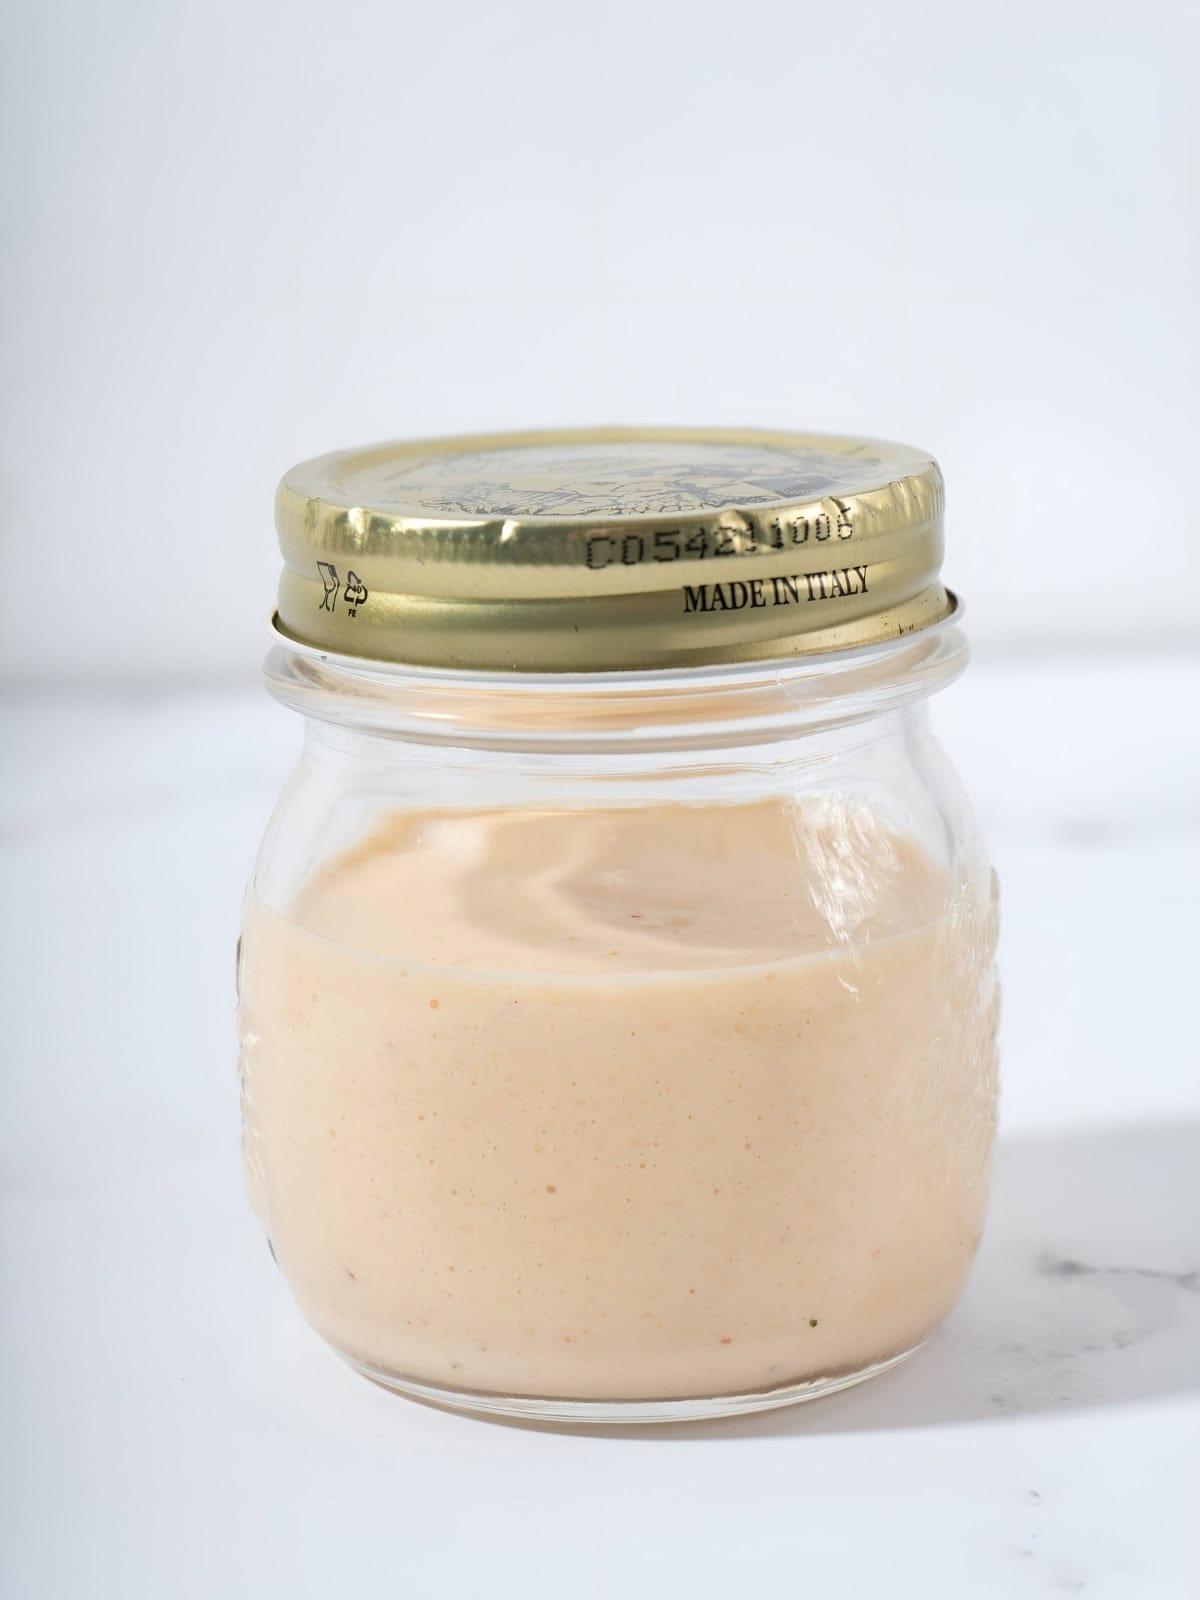
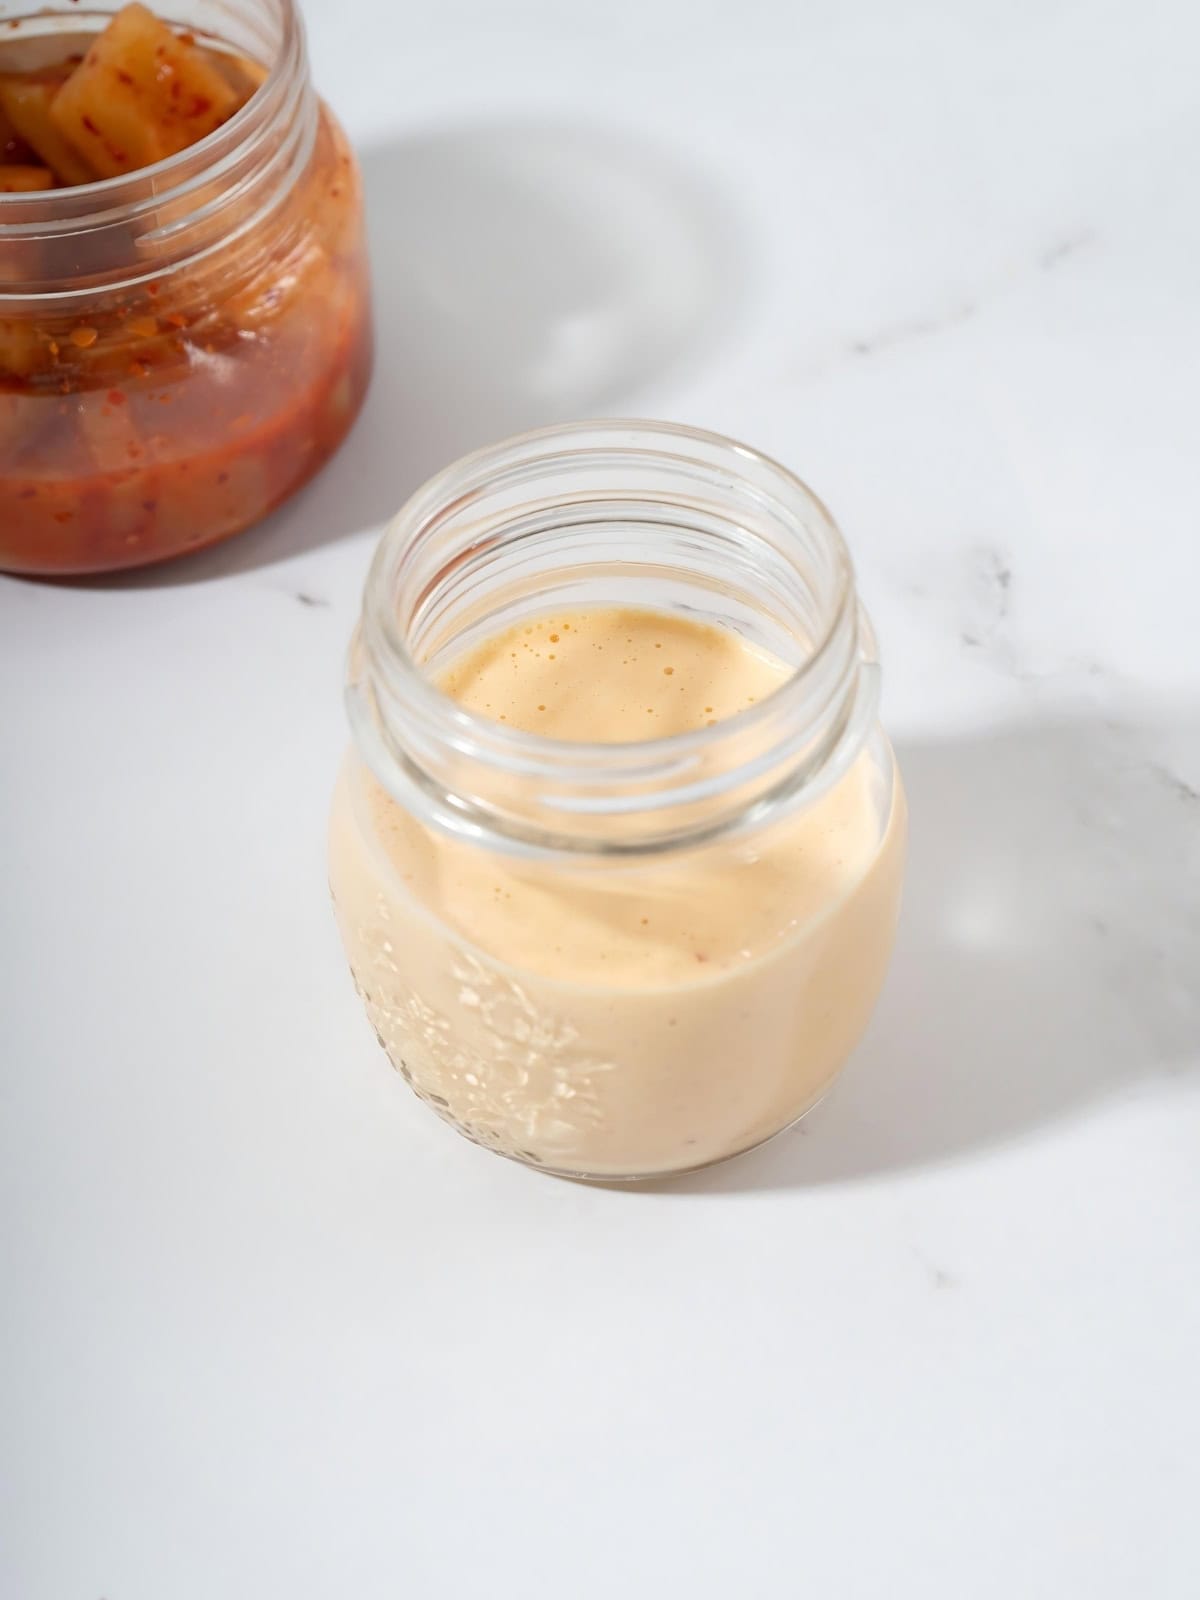
Step 4) Taste the aioli and adjust the seasoning if necessary. If you prefer a little more heat, feel free to add or add more red pepper flakes. Once you're happy with the flavor and consistency, transfer the aioli to a container and refrigerate it for at least 30 minutes before serving. This chill time helps the flavors to intensify and the aioli to firm up to the perfect consistency (image 4).
🌟 Variations of Kimchi Aioli
- Low-Sodium - to reduce the sodium in this recipe, you can use low-sodium mayonnaise and leave out any added salt (or replace it with potassium salt, if used).
- Extra Spicy Aioli - to make your aioli extra spicy, add in a few red pepper flakes or a dash of your favorite brand of gochujang.
- Vegan - you can easily make this recipe vegan by using plant-based mayonnaise instead of traditional mayo. The rest of the ingredients are already vegan-friendly, as long as you use kimchi without shrimp.
See this easy homemade yuzu aioli for another homemade Korean mayo!
🥘 Freezing and Storage
This aioli will stay good in the fridge for up to 10 days if kept cool enough, so it’s great to make it in advance or enjoy it throughout the week. Do not freeze it.
👨🏻🍳 Expert Notes & Tips
Kimchi Juice: If your kimchi is particularly juicy, you also might want to drain it slightly before adding it to the food processor to prevent making a runny aioli.
❓ Other Delicious Korean Sauces
🙋 Frequently Asked Questions
Aioli is a creamy and flavorful garlic sauce that originated in the Mediterranean region. It's usually made of mayonnaise, garlic, lemon juice, and olive oil.
Aioli sauce is different from plain aioli, primarily made of mayonnaise and garlic, with variations including added lemon juice, mustard, and/or herbs.
No, but it can easily be made vegan by using plant-based mayonnaise instead of traditional mayo. The rest of the ingredients are already vegan-friendly.
Kimchi aioli can last up to ten days when stored in an airtight container in the refrigerator. Be sure to check for any signs of spoilage before consuming it past this time frame.
Yes, you can use a blender to make this recipe. Just pulse the ingredients in smaller batches to ensure everything is well combined.
📖 Recipe
Easy Kimchi Aioli (Kimchi Mayo Recipe)
Equipment
- 1 Food Processor
Ingredients
- ½ cup mayonnaise (115g)
- ¼ cup kimchi, roughly chopped (50g)
- 1 large clove 6g garlic, sliced
- 1 to 2 teaspoons fresh lime juice
- ½ to 1 teaspoon honey
- ½ teaspoon sesame oil
- ¼ teaspoon red pepper flakes optional
- ½ teaspoon salt or to taste
Instructions
- Place the roughly chopped kimchi and garlic cloves into the bowl of your food processor. Pulse it all several times until the kimchi is very finely chopped and the garlic is completely minced, for around 1 minute.For an extra smooth aioli, before adding in the rest of the ingredients, you can scrape this mixture through a fine-mesh sieve to remove any remaining kimchi bits and then return it to the bowl of the processor.
- Add in the mayonnaise, lime juice, sesame oil, honey, red pepper flakes if using, and salt to the food processor.
- Blend the mixture until everything is well combined and the texture is smooth. This should take about 30 seconds to 1 minute. Scrape down the sides of the bowl as needed to ensure all the ingredients are incorporated.
- Taste the aioli and adjust the seasoning if necessary. If you prefer a little more heat, feel free to add or add more red pepper flakes.
- Once you're happy with the flavor and consistency, transfer the aioli to a container and refrigerate it for at least 30 minutes before serving. This chill time helps the flavors to intensify and the aioli to firm up to the perfect consistency.



Comments
No Comments